Send Custom Messages
Developers, QA, and security engineers need to test their WebSocket applications against a variety of messages to ensure they’re production-ready. However, some scenarios are difficult to produce via the application’s UI, and may even require devs to write “throwaway code” just for testing purposes.
You can create custom messages with Socket Inspector to simulate these test scenarios. Create a message with the built-in text editor and then send it over any of your application’s WebSocket connections. Socket Inspector can simulate both incoming (server to client) and outgoing (client to server) messages, meaning you can debug either side of the connection.
Instructions
Select a WebSocket Connection
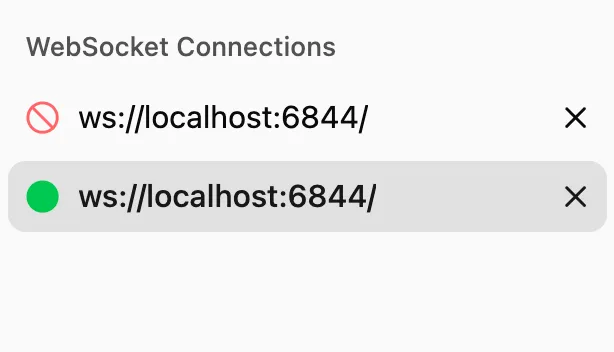
Select an open connection from the sidebar:
After selecting a connection, the Compose Custom Message panel should appear:
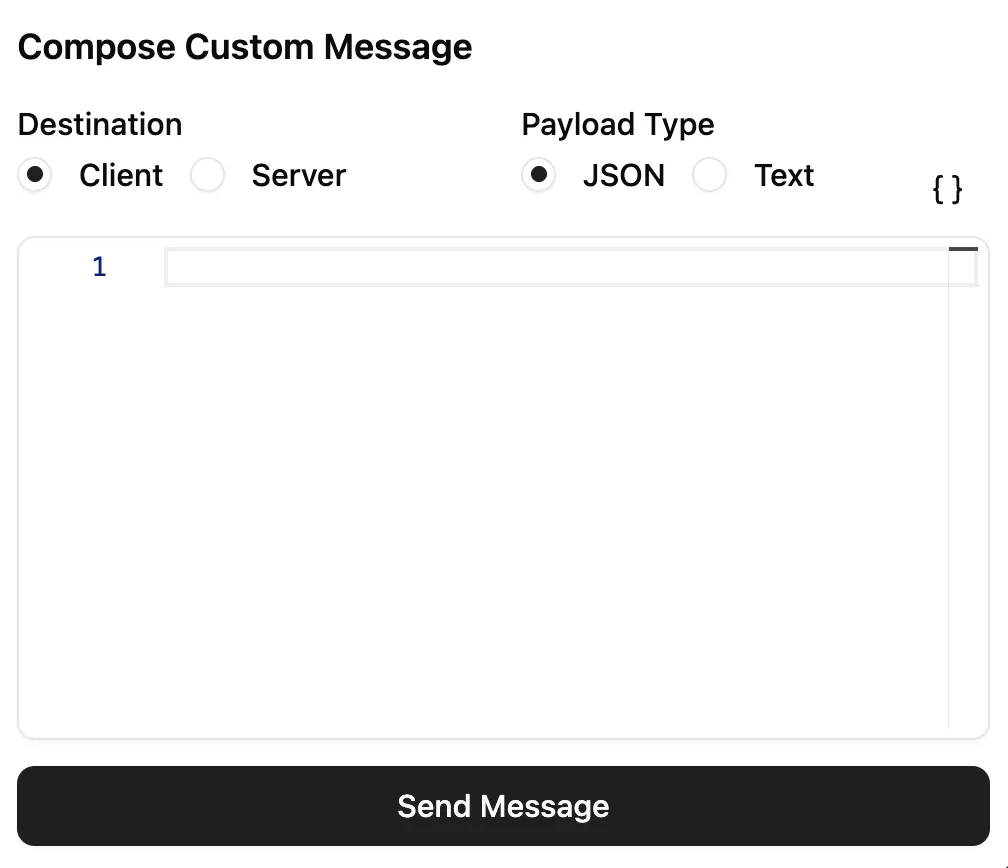
Select a Message Destination and Payload Type

The Destination field can have one of the following values:
- Client: Simulates an incoming message (a message sent from the server to the UI application)
- Server: Simulates an outgoing message (a message sent from the UI application to the server)
The Payload Type field can have one of the following values:
- JSON: Applies JSON syntax support (validation, highlighting, formatting, etc)
- Text: Raw text field. Useful for custom message formats, testing malformed JSON payloads, etc
Note: Socket Inspector will convert your message to a string regardless of which payload type you select. The JSON option just makes it easier to create JSON-formatted strings.
Send Your Message
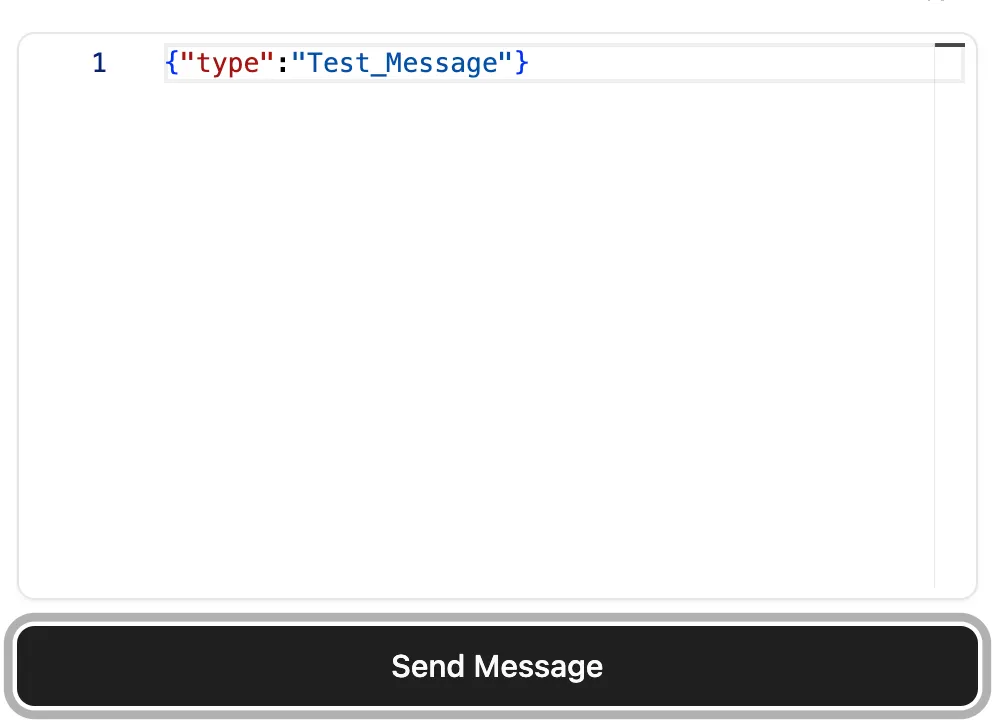
Enter your message into the text editor and click the Send Message button to send your message to the selected destination:
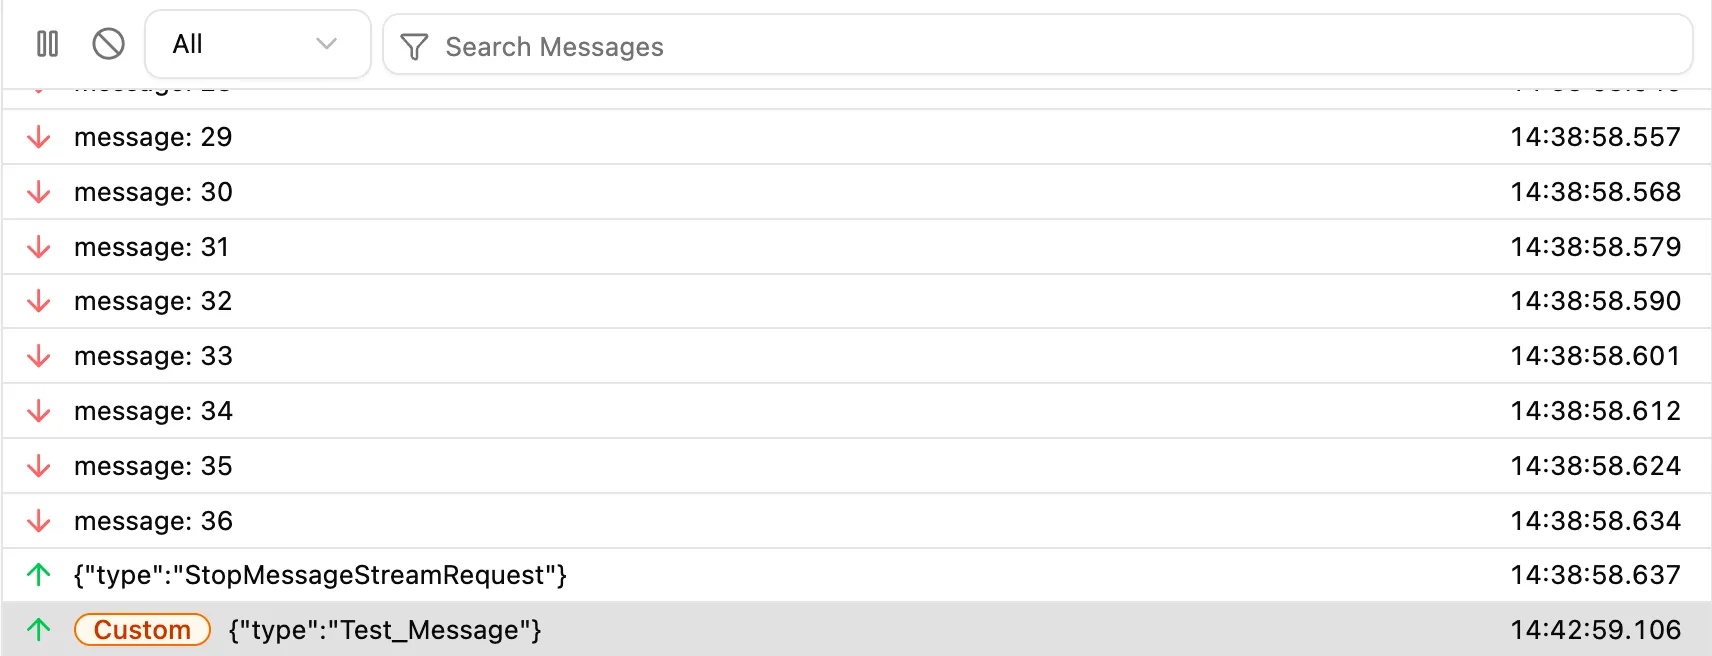
Your message should appear in the message table with the Custom label:
How It Works
If you select Client as the message destination, then Socket Inspector will send a message event to the selected connection’s WebSocket instance. This will trigger any message handlers attached to the instance:
socket.onmessage = (event) => {
  // data is a string set to the value
  // entered in the editor
  const { data } = event;
};
If you select Server as the message destination, then Socket Inspector will send the message over the network to your server.